-
 When
When
31 August to 12 September 2026
10am and 11am weekdays. 10am, 11am, 12.30pm on Saturdays.
-
 Location
Blue Door Room
Location
Blue Door Room -
 Time
Time
40 minutes
-
 Audience
Early childhood
- Book tickets external site
About
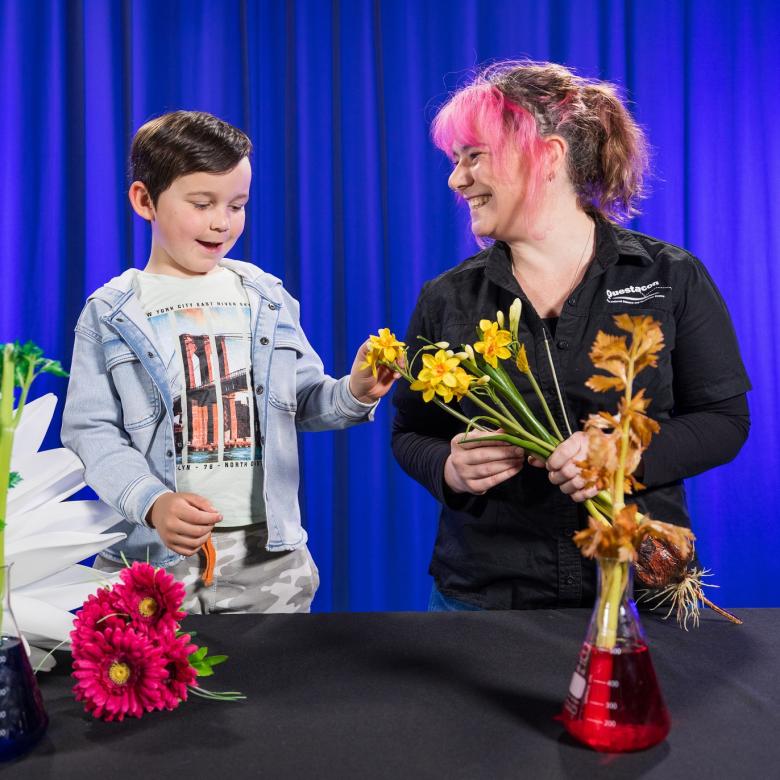
Have you ever wondered what plants need to help them to grow? Or how flowers get water from their roots to the tip of their leaves? Come find out at Science Time: Spring and Flowers!
Science Time gets little scientists involved in a fun and interactive learning experience. Children and their caregivers work together to ask questions, investigate, and share their discoveries. Hands-on experiments, activities and crafts help children to explore the topic further. The session finishes with a demonstration and an activity sheet so you can continue your STEM journey at home.
Science Time At Home - Plants.
[An image appears of a Science Time sign top right, sketches of a gecko, an eye, a grasshopper, a sun, a drum, an ear, leaves, an open mouth, and children around the Questacon logo, and text appears: Science Time, For 3 to 5 year olds and their carers]
[Image changes to show Heading text surrounded by a chalk drawing images of bubbling beakers and test tubes, flowers and seedlings growing from seeds, and text appears: Plants]
Children: Plants.
[Image changes to show Kristy waving and talking to the camera, and sitting at a table with potted plants]
Kristy: Hi there. Welcome to Science Time experimenting from home.
[Image continues to show Kristy talking to the camera as she places a hand on her chest, and then touches a plant on the left]
My name is Kristy and today I'm out in the garden tending to my plants.
[Image continues to show Kristy talking to the camera]
Do you have any plants growing at your house? Maybe you have some in the garden.
[Image continues to show Kristy talking to the camera as she places a hand on the pot of a plant behind her on the left]
Maybe you have some in pots growing inside your house.
[Image continues to show Kristy talking to the camera]
Maybe you might have some beautiful trees and plants in your neighbourhood that you might see when you go out walking. But one thing I've been noticing about my plants is that they're all different.
[Image continues to show Kristy talking to the camera as she places a hand on a monstera leaf from the pot plant behind her on the left]
Some of them have interesting leaves that have different shapes and sizes and colours.
[Image continues to show Kristy talking to the camera]
Some have interesting smells.
[Image continues to show Kristy talking to the camera as she reaches over to her right picking up a vase of flowers and placing the vase in front of her]
Some even have beautiful flowers, just like these ones here. Now flowers come in all different colours and shapes and smells, but they also have another important role in the garden.
[Image continues to show Kristy talking to the camera and lifting a thoughtful finger to her face]
Can you think of what that important job might be? Hmm.
[Image continues to show Kristy talking to the camera]
Well, flowers attract pollinators to the garden. Next time you're out and you see some flowers, have a bit of a closer look and see if you can spot some bees and butterflies fluttering around. These two are insects called pollinators, and it's their job to collect pollen from the flowers and spread it around the garden.
[Image continues to show Kristy talking to the camera and touching her shoulder]
Pollen is like a yellow dust that gets stuck to the little hairs on their bodies, and it's important that this pollen is spread throughout the garden so it helps other flowers and plants to grow.
[Image continues to show Kristy talking to the camera, and pretends to drink through a straw]
Another thing that insects and pollinators might collect from flowers is something called nectar and nectar is a liquid that they drink.
[Image continues to show Kristy talking to the camera]
But for some insects that nectar is food but for insects like bees, they actually take that nectar and bring it back to their hive, which is where they transform it into delicious honey that some of us love to eat. So flowers are super important for attracting pollinators to the garden.
[Image continues to show Kristy talking as she picks up the vase of flowers, placing it on the right, then picking up a seed and extends her palm with the seed to the camera]
But did you know that every flower, every tree, every plant started off, once upon a time, as a little tiny seed just like this one. This is a sunflower seed, but it doesn't look like a sunflower yet, does it?
[Image continues to show Kristy talking to the camera as she points at the seed]
That's because the little sunflower is actually inside this little brown shell called a shell case, and that protects the little tiny plant inside until it's ready to grow.
[Image continues to show Kristy talking to the camera as she withdraws her hand]
Would you like to grow some plant seeds with me today?
[Image continues to show Kristy talking to the camera as she places the seed beside the vase of flowers]
If you do, it's really, really simple.
[Image shows Kristy bending behind the table retrieving a tray containing a ziplock bag, a seed packet, cotton balls and a plastic cup and placing it on the table, and then begins talking again]
All you need are four things.
[Image continues to show Kristy talking to the camera as she picks up the ziplock bag, and then placing it back down]
First thing is a ziplock bag, you might have these at home. Okay.
[Image continues to show Kristy talking to the camera as she picks up the cotton balls, and then placing it back on the tray]
You also need some cotton balls, which you might find in the bathroom at home.
[Image continues to show Kristy talking to the camera as she picks up the plastic cup holding some water, picking up one cotton ball and then placing the items back on the tray]
Some water, you don't need a lot, just enough to dampen our cotton balls.
[Image continues to show Kristy talking to the camera as she picks up the seed packet with a picture of sunflowers on it, and then placing it back on the tray]
And of course, some seeds that you want to use. Now I've just picked sunflower seeds from my supermarket. You can grow any type of seed that you want.
[Image continues to show Kristy talking to the camera and picking up the ziplock bag again]
To grow your seeds all you need to do is open up your ziplock bag just like this.
[Image continues to show Kristy talking to the camera, picking up the cotton balls and putting them into the ziplock bag]
Pop your cotton balls inside like that.
[Image continues to show Kristy talking to the camera, picking up the plastic cup of water]
Add some water.
[Image continues to show Kristy talking while pouring some water into the ziplock bag, putting the cup down, squeezing the cotton balls from the outside of the bag, and picking up the seed packet]
Like I said, it doesn't need to be a lot, just enough to make those cotton balls nice and wet, give them a little bit of a squeeze so they get some of that water and then add your seeds.
[Image continues to show Kristy talking to the camera, tipping in a few seeds, placing the packet back on the tray, then squeezing the ziplock bag to move the seeds around the packet]
Now sunflower seeds are quite big so I might add a few. There we go, about three or four in there. Try and move them around so they're close to those wet cotton balls.
[Image continues to show Kristy talking to the camera still holding up the ziplock bag and then zipping it shut]
Now here's the important part. Seal it off just like that and find a nice warm sunny spot to leave your sunflower seeds or whatever seeds you're using.
[Image continues to show Kristy talking to the camera, holding up three fingers]
The reason for this is that for a seed to grow or germinate, germinate is the correct term that we're going to use here, for a seed to germinate, it needs three important things.
[Image continues to show Kristy talking to the camera while holding the ziplock bag in one hand and picking up the plastic cup, and then putting it down again]
It needs water.
[Image continues to show Kristy talking to the camera and hovering her free hand onto the ziplock bag]
It needs air, now there's air inside that bag, we’ve actually trapped that air by closing the ziplock bag. It also needs it to be the right temperature. Now, I said before, put it in a nice sunny spot like maybe on a windowsill or outside in the sun. The reason for that is sunlight is going to heat up the air inside the bag, and it's going to make it a nice, perfect temperature for those little seeds to germinate.
[Image continues to show Kristy talking to the camera and placing the ziplock bag onto the tray]
And once they do germinate, maybe three or four days.
[Image continues to show Kristy talking to the camera and reaching to the right, retrieving a cotton bud with seedlings, and extends out her hand to the camera to show the seedlings]
Here's one that I prepared earlier about five days ago. Can you see that?
[Image continues to show Kristy talking to the camera with hand still outstretched to the camera, flipping over the cotton ball seedling with her other hand showing exposed roots]
So this is my little germinated sunflower seeds. I'm gonna flip it over so you can see it a little bit more clearly. So some things that you might notice.
[Image continues to show Kristy talking to the camera as she points at the seedling’s leaves]
We've got this green part here, this is called the stalk or the little shoot that's coming from our seed.
[Image continues to show Kristy talking to the camera and pointing to the roots of the seedling]
Down here we have some roots, they’re like little hairs and they're called roots. And those roots are really, really important.
[Image continues to show Kristy talking to the camera while withdrawing her hand from the camera and then placing the cotton ball seedling onto the tray]
All right, those roots bury deep into the soil, if you plant it into soil, it's going to bury deep in the soil and it's going to suck up lots of water from in the ground.
[Image continues to show Kristy talking to the camera, and reaching to the left retrieves a chicken shaped pot plant and shows the camera a planted seedlings]
And once your little shoot gets big enough, you can actually plant it in soil. This is my my chicken, chicken pot. All right.
[Image continues to show Kristy talking to the camera and pointing at the seedlings]
You can plant your little seeds in some soil. Put them in a nice sunny spot with a little bit of water.
[Image continues to show Kristy talking to the camera and picking up the plastic cup and watering the seedling, and placing the cup back down]
I’ll just water mine right now like that. And hopefully within a bit of time you might start to see a sunflower growing.
[Image continues to show Kristy talking to the camera as she places the chicken pot seedling to the left off camera view]
I'll put that over there to the side.
[Image continues to show Kristy talking to the camera and touching the cotton ball seedlings]
This is how you can grow seeds at home. But little plants like these little shoots like this, you don't have to have seeds.
[Image continues to show Kristy talking to the camera, and picking up the tray with the ziplock bag and seedlings, and placing it behind the table on the right]
Some of us don't have seeds nearby, but what we can use is vegetables.
[Image continues to show Kristy talking to the camera, and retrieving from the left a container with seedlings inside]
Vegetables like these ones right over here. Now I've grown two vegetables.
[Image continues to show Kristy talking to the camera, and reaching in to retrieve a seedling and extends her hand to the camera with a carrot top seedling]
I want to see if you can guess what they might be. What do you think this vegetable might be?
[Image continues to show Kristy talking to the camera and pointing at the seedling’s leaves]
This used to be a carrot and you might see that's getting some shoots up above. So we had a carrot at one point and what I did, I saved the top of the carrot and I put it in water for about two weeks.
[Image continues to show Kristy talking to the camera , and pointing to the carrot top base of the seedling, and then placing it back into the container]
And all of a sudden I've got some little shoots growing at the top and on the side I've got some little roots growing. Let's check another vegetable.
[Image continues to show Kristy talking to the camera, and picking up another seedling, and then extending her hand to the camera showing the potato seedling]
This is a really good one. This is, who can guess what this one might have been? Doesn’t look very pretty, does it? This used to be a potato.
[Image continues to show Kristy talking to the camera, and points to the seedling’s roots, and then points to the seedling’s shoot at the top of the seedling]
So here I've got the long, long roots growing, up here I've got a little bit of a shoot growing. Now what I could do is take this out into some soil, bury it in some soil, and hopefully within a few weeks time I might have some potatoes growing in my garden.
[Image continues to show Kristy talking to the camera, lifting two finger to the camera and then placing the seedling back into the container]
How exciting would that be? So there are two ways that you can do some growing at home. Have an experiment, have a bit of a play.
[Image continues to show Kristy talking to the camera, and moving the container to the left off the camera view]
We talked about roots though, roots are really important.
[Image continues to show Kristy talking to the camera, and with her hands mimics how water is sucked up though roots]
They suck water out of the soil. But how do they do that? There’s a good way we can experiment and see how that works.
[Image continues to show Kristy talking to the camera, and reaching to the right and retrieving a tray with two plastic cups and some paper towel]
So this little experiment that you can do at home.
[Image continues to show Kristy talking to the camera, and picks up the left cup to show green dye in it]
Now I've got a cup and in that cup I've got a little bit of green food dye.
[Image continues to show Kristy talking to the camera, and reaching to the right retrieving a watering can]
The reason for that is I want some green water.
[Image continues to show Kristy talking to the camera, and pouring water into the plastic cup with green dye and filling it up two thirds of the way, and then putting the watering can away]
Now you don't have to use green water, I'm using green water because it's nice and easy to see. But you could use any colour that you would like.
[Image continues to show Kristy talking to the camera, and picking up the paper towel, holding up in front of her face]
Okay, so I've got my green water here. I've also got some paper towel. Now you might have this at your house.
[Image continues to show Kristy talking to the camera as she’s rolling the paper towel into a tube]
It's good for mopping up messes, but I'm going to fold it up into a nice long piece of paper towel just like this and I'm going to add this to my cup of water. What do you think's going to happen when I put this paper towel in the cup of water? Have a think. Talk to your grown up. What do you think's going to happen? Are you ready?
[Image continues to show Kristy talking to the camera, and placing one end of the paper towel into the plastic cup with green dye]
Let's try it out in three, two, one. Whoa. Oh, wow.
[Image continues to show Kristy talking to the camera, as the paper towel slowly soaks the water and turns a shade of green]
Can you see that?
[Image continues to show Kristy talking to the camera and pushed the ray a bit closer to the camera]
I'm gonna move a little bit closer.
[Image continues to show Kristy talking to the camera, and then picking up the paper towel and plastic cup showing the camera as the paper towel continues soaking up the water]
Can you see what's happening to the paper towel? It's sucking the green water all the way up the paper towel. How amazing is that? That's so cool. All right. This is exactly what plants roots do.
[Image continues to show Kristy talking to the camera, and then placing the paper towel and cup back onto the tray, as she points up the length of the paper towel]
They suck the water from the soil all the way up the roots all the way up the stem, out to the top of the trees.
[Image continues to show Kristy talking to the camera]
This is something called capillary action, right? This is so amazing. This is actually moving quite quickly.
[Image continues to show Kristy talking to the camera, picking up the empty cup on the right and placing it back down]
But what I might do, I’ve got a second little cup here.
[Image continues to show Kristy talking to the camera, and bends the paper towel so that the other end of the paper towel is in the empty cup]
I'm actually going to bend my paper towel just like this and sort of drape it over the two cups. This will take a little bit of time.
[Image continues to show Kristy talking to the camera]
Maybe you can just experiment at home and see what happens. I'm interested to know what happens. I'm going to leave it for now cause it might take a little bit of time. But this is the basics of capillary action. All right.
[Image continues to show Kristy talking to the camera and pushing the tray away to the right off camera view]
So we'll put this over here, put it away. There we go.
[Image continues to show Kristy talking to the camera, and picking up the vase of flowers from the right and placing them in front of her]
Now we've talked about important parts of a plant. We've talked about flowers. Flowers are important for bringing pollinators into the garden and helping to spread pollen.
[Image continues to show Kristy talking to the camera, and sliding the vase of flowers to the right, and then reaching to the left]
We've talked about roots.
[Image continues to show Kristy talking to the camera, and retrieving a seed with visible roots and placing it into her hand, and then putting it back on the left off camera view]
Now roots are really important for bringing water from the soil up into the leaves and into the stem.
[Image continues to show Kristy talking to the camera, and reaches to the right and retrieves a celery plant in a vase, and places it near the camera]
But there are other parts of the plant as well. See if you recognise this vegetable. This is celery.
[Image continues to show Kristy talking to the camera, she reaches forward to point at the plant and rotate the plant]
I love to eat celery, but celery has two other parts that we haven't spoken about yet. What are these parts here? These are the leaves of the celery.
[Image continues to show Kristy talking to the camera, and pointing at the plant and then moving the vase slightly to the right, and continues pointing at the leaves while talking]
Now the leaves are really important for a plant, mainly because this is where the plant makes its energy. How does it do that? Well it actually uses sunlight, which is why it's really important that when we're growing plants, we put them in a nice sunny spot. Sunlight hits the leaves and inside the leaves, the leaves actually transform that sunlight into energy in a process that we actually call photosynthesis. That's a cool word, photosynthesis, right? And that energy is used by the plant to help it grow. Amazing.
[Image continues to show Kristy talking to the camera, and rotating the plant and pointing up and down at the stalk]
Now we have these leaves here and these leaves are connected to this. This is called the stem or the stalk, right? The stem stalk has an important job. Not only does it hold our plant up nice and tall so it doesn't just flop on the ground, but inside the stem are long, long straws or tubes called xylem tubes, which suck the water from the roots and spread that water all the way up to the tips of the leaves.
[Image continues to show Kristy talking to the camera]
So if you think about how tall some trees are that you might see outside, some of them really tall. So I want to see how water spreads to this piece of celery.
[Image continues to show Kristy talking to the camera, and moving the vase of celery around the table to the left and right, then far right of the camera]
Want to join me in another experiment? What you need to get is a piece of celery.
[Image continues to show Kristy talking to the camera, and reaches to the right behind the table to retrieve a glass with blue dye at the bottom, and places the glass near the camera]
Okay, again, I've grabbed a cup of water.
[Image continues to show Kristy talking to the camera, and picking up the glass and then putting it down again]
This time I'm using a glass rather than a plastic cup, mainly because celeries are a little bit heavier, this will help not tip over.
[Image continues to show Kristy talking to the camera, and reaches to the right, retrieving the watering can as she points at the glass, and then pores water into the glass to three quarters full]
I've got some blue food, blue food dye in there so we can see what's happening. Add some water about three quarters full.
[Image continues to show Kristy talking to the camera and returning the watering can to the right off camera view]
Here we go, I'm using my watering can there.
[Image continues to show Kristy talking to the camera, and sliding the glass with blue dyed water towards her, and then points at the celery]
I'm going to add my celery to the blue water. Now think about what might happen. Have a chat to your grown up.
[Image continues to show Kristy talking to the camera, and picking up the celery from the vase and placing the celery into the blue water]
I'm going to add the celery to my blue water. Think about what happened in my paper towel experiment. Are you ready? Three. Two. One.
[Image continues to show Kristy talking to the camera, and moving the celery and blue water to the left, and then retrieves from the right a blue celery in blue water, and placing it in front of her]
Not much happened. and that's okay, with plants things take time so you might want to go outside, have a bit of a play, but come back in about an hour and you might see some changes just like this one.
[Image continues to show Kristy talking to the camera, and pointing at the celery and the leaves as she brings the plant closer to the camera]
So this celery's been sitting for about an hour and a half. Can you see what's happened to the leaves? The leaves have turned blue.
[Image continues to show Kristy talking to the camera, and placing the blue celery in front of her, and pointing from the bottom to the top of the celery plant]
And that's because the xylem tubes in the stalk have sucked the water, the blue water, up to the stem, the stem is the same colour but all the way to the tips of the leaves.
[Image continues to show Kristy talking to the camera, and tilting the plant towards the camera showing the blue tinge though the plant, and then placing it back in front of her]
And now even the leaves at the very, very top are a tinge of blue.
[Image continues to show Kristy talking to the camera, and pointing at the water and then up to the plants leaves]
How amazing is that? And this is another example of capillary action, which is what I showed you with the paper towel. Capillary action is pulling water from down below in the soil, or in our case in the glass, pulling it up so it spreads the tip of the leaves.
[Image continues to show Kristy talking to the camera, and moves the blue celery to the left, and touches the leaves again]
Now you can do this experiment at home, like I said before, but you don't have to use celery. What about using other vegetables like lettuce?
[Image continues to show Kristy talking to the camera, and picking up the vase of flowers, pointing at the flowers, pointing at the blue water, and then returning the flower vase to the right]
What about using flowers? Maybe have an experiment with putting some flowers in coloured water and seeing what happens.
[Image continues to show Kristy talking to the camera]
There are so many experiments that you can do, so much fun.
[Image continues to show Kristy talking to the camera, and then pointing at the celery on the right]
Everybody, done a lot of experimenting today. Thank you so much for joining me for Science Time experimenting at home with plants.
[Image continues to show Kristy talking to the camera]
My name is Kristy. If you need any more resources, grown ups, please check out our Parent Information Resource sheet which will come with this video and Science Time. Make sure you also send us any videos or photos of the experimenting that you're doing at home, either through Facebook or through our email at science time@questacon.edu.au.
[Image continues to show Kristy talking to the camera while waving at the camera]
Until next time, everybody, my name is Kristy and I'll see you again soon. Bye.
[Image changes to show a magnifying glass being drawn over a flying butterfly, and a Science Time sign appears top right, and text appears below: Have fun experimenting with your little scientists at home!]
Song: Outside, at the playground, in the sunshine, there is science. Wake up.
[Image changes to show sketches from the first image again around the Australian Government Coat of Arms, Questacon, Facebook, Twitter, YouTube, Instagram and linkedIn logos, and text appears: Share your discoveries and feedback on Facebook or email sciencetime@questacon.edu.au, www.questacon.edu.au]
Things to know
-
Science Time is for little scientists aged 3-5 years (and their caregivers).
-
Non-Members must purchase a General Admission ticket and book a Science Time ticket to attend a Science Time session
-
Members must book a Science Time session ticket to secure a spot.
-
Tickets are available approximately 1 month before the first session.
-
Sessions start at 10am and 11am weekdays. 10am, 11am, 12.30pm on Saturdays.
-
Please arrive 5-10 minutes early to check in.
-
Each session runs for 40 minutes.
-
You can find us in the Blue Door Room in gallery 5 – please ask staff for directions.
-
If you have any questions, or your child has any learning requirements, you can email us at ScienceTime@questacon.edu.au
-
If you have booked a Science Time ticket and are not able to attend, please cancel your tickets. Your confirmation email will have a link where you can cancel. Alternatively email us at ScienceTime@questacon.edu.au and we can cancel the tickets on your behalf.
Science Time schedule
You can join us for Science Time at 10am and 11am on weekdays; and 10am, 11am and 12.30pm on Saturdays on:
-
Monday 31 August
-
Tuesday 1 September
-
Wednesday 2 September
-
Thursday 3 September
-
Friday 4 September
-
Saturday 5 September
-
Monday 7 September
-
Tuesday 8 September
-
Wednesday 9 September
-
Thursday 10 September
-
Friday 11 September
-
Saturday 12 September
Other Questacon events
STEM Educator Community of Practice – Southern Tasmania
-
 Wednesday, 4 November 2026
-
 Educators
-
 Hobart

STEM Educator Community of Practice - Eastern Regional Victoria
-
13 and 14 October 2026
-
Educators
-
Eastern Regional Victoria
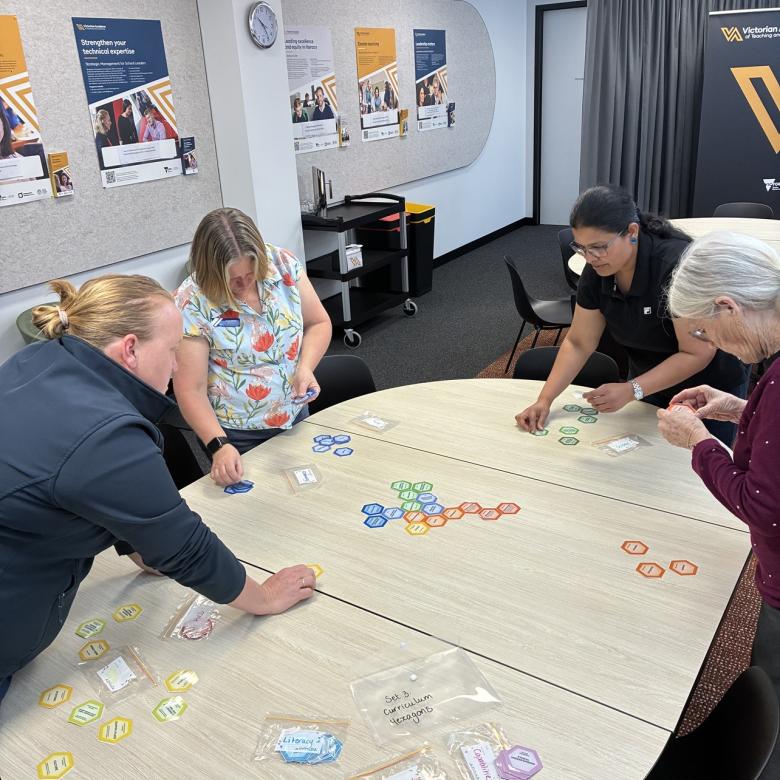
Pop-Up Science Centres – Broken Hill
-
Saturday, 19 September 2026
-
Everyone
-
Broken Hill Regional Events Centre, Broken Hill NSW

STEM Educator Community of Practice – New South Wales
-
Wednesday, 9 September 2026
-
Educators
-
Online
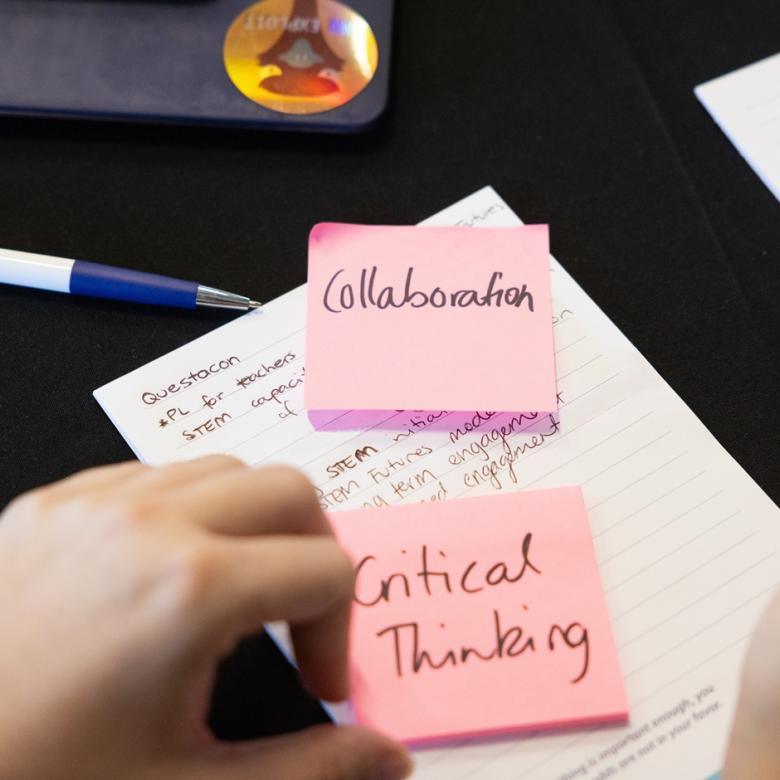
Engineering is Elementary workshop – McLaren Vale Region
-
Wednesday, 28 October 2026
-
Educators
-
McLaren Vale, SA
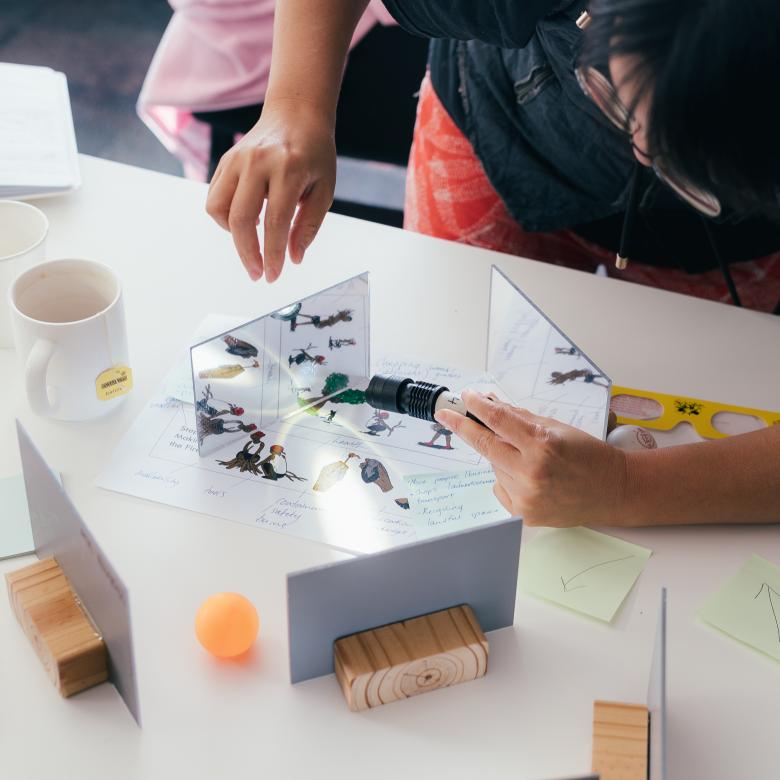
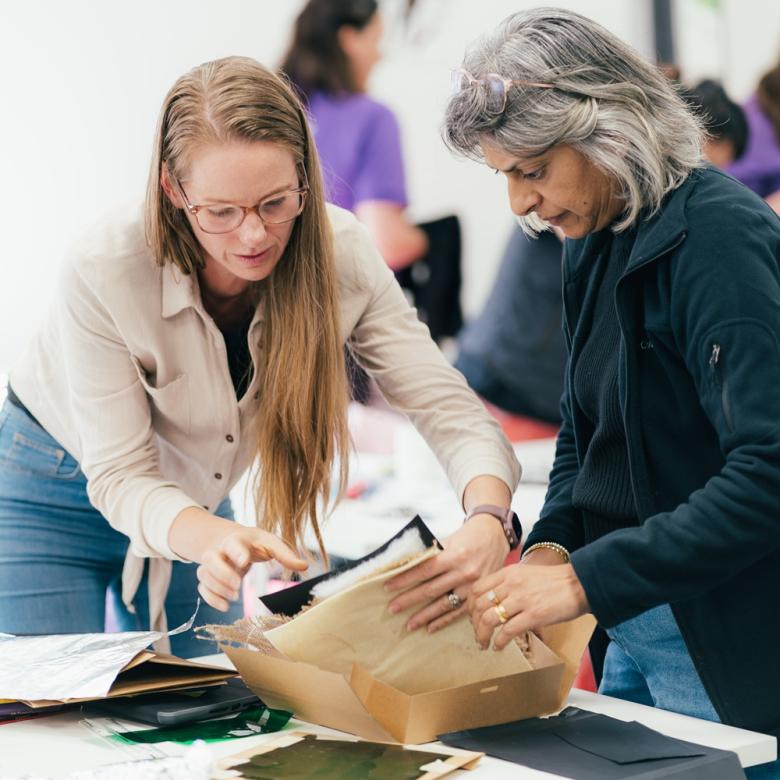
Engineering is Elementary workshop – Naracoorte
-
Tuesday, 3 November 2026
-
Educators
-
Naracoorte, SA
STEM Educator Community of Practice - Canberra
-
Thursday, 17 September 2026
-
Educators
-
Questacon (Parkes)
Engineering is Elementary workshop – Mount Gambier
-
Thursday, 5 November 2026
-
Educators
-
Mount Gambier, SA

STEM Educator Community of Practice – Northern Tasmania
-
Wednesday, 23 September 2026
-
Educators
-
Burnie, TAS
STEM Educator Community of Practice - Northern Regional Victoria
-
Tuesday, 15 September
-
Educators
-
Wangaratta Tech School, 16–18 Cusack Street, Wangaratta, VIC
Questacon STEM Futures - NT
-
Terms 2 and 3 2026
-
Educators
-
Darwin and Alice Springs regions, NT